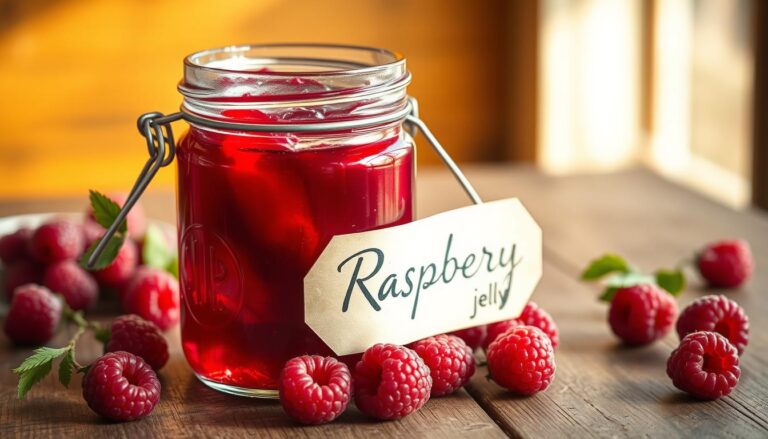
Orange Jelly: How to Store It Fresh for Up to 12 Months
Making homemade orange jelly at home opens up a world of delicious possibilities. You get to enjoy the bright, sunny flavor of citrus all year long. Plus, your orange jelly can stay fresh and tasty for up to 12 months if you follow the right steps.
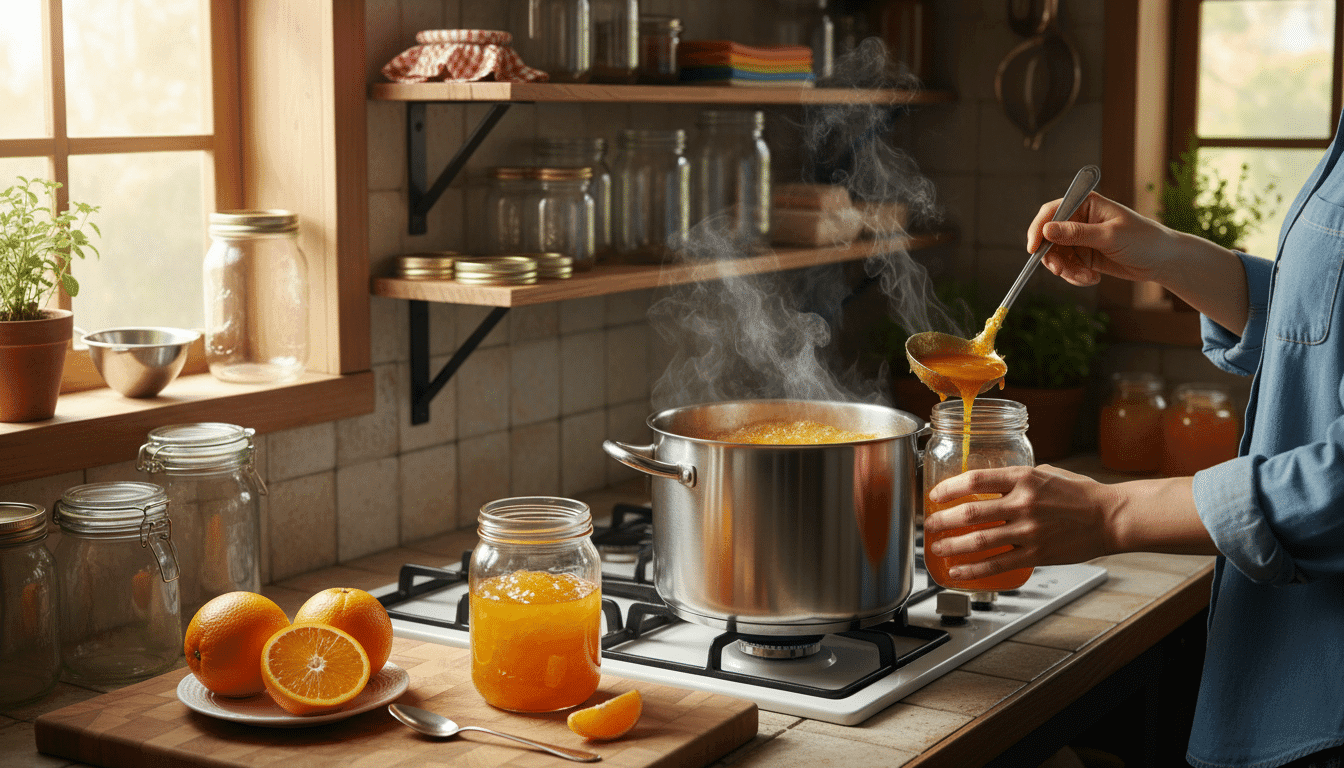
Canning orange jelly might sound tricky at first. But, it’s easier than you think. You just need to learn the proper techniques. With the correct equipment and methods, you can preserve orange jelly like a pro.
This guide walks you through everything you need to know about preserving orange jelly. You’ll learn about the tools you need. You’ll discover how to pick the right jars. You’ll master the water bath canning method. Best of all, you’ll learn how to store orange jelly safely in your pantry.
Orange jelly stands out from other fruit spreads in important ways. It’s made from juice rather than whole fruit. This gives it a smooth, clear look that’s simply beautiful. The flavor is pure and bright.
Whether you’re new to canning or you’ve done it before, this article helps you succeed. You’ll feel confident about every step. You’ll know exactly how to store orange jelly for maximum freshness. Your friends and family will love the results.
Key Takeaways
- Properly canned orange jelly stays fresh for up to 12 months when stored correctly
- Orange jelly uses fruit juice instead of whole fruit, creating a smooth and translucent spread
- The water bath canning method is the most effective way for preserving orange jelly at home
- Using new canning lids and proper jar selection ensures successful seals every time
- Correct headspace and processing times are essential for safe canning orange jelly
- Cool, dark storage conditions help maintain the quality of your homemade orange jelly
- Learning to identify spoilage signs keeps your store orange jelly safe to eat
What Makes Orange Jelly Different from Other Fruit Spreads
Orange jelly is unique because it’s made from pure fruit juice, not whole fruit. This makes it different from jam or preserves. Jam has fruit bits, but jelly is smooth and clear.
The secret to jelly is three things: fruit juice, sugar, and pectin. These mix together to make a spread that’s firm but flows well. When you hold a jar up, it shines with a clear glow.

Knowing the differences helps you choose the right spread. Preserves have big fruit pieces in syrup. Marmalade has citrus peel for a tangy taste. Jelly is smooth and consistent.
Understanding the Texture and Flavor Profile
Orange jelly has a special texture. It’s firm but wobbles a bit. This comes from the fruit juice’s natural pectin and added ingredients. It spreads smoothly and melts in your mouth.
The flavor of orange jelly is bright and citrusy. It’s sweet from sugar and tart from orange juice. It’s clean and tastes purely of orange.
Why Orange Jelly Uses Fruit Juice Instead of Whole Fruit
Orange jelly uses juice for its smooth texture. Straining the juice removes pulp and seeds. This makes a clear spread.
Using juice lets the orange flavor shine. There’s no pulp to get in the way. This is what makes jelly different from jam or preserves.
| Fruit Spread Type | Main Ingredient | Texture | Flavor Intensity | Appearance |
|---|---|---|---|---|
| Jelly | Strained fruit juice | Smooth, gel-like | Pure and bright | Clear and translucent |
| Jam | Crushed or chopped fruit | Thick with visible chunks | Fruity with pulp notes | Opaque with fruit pieces |
| Preserves | Whole or large fruit pieces | Chunky, syrupy | Strong fruit flavor | Opaque with large pieces |
| Marmalade | Citrus juice and peel | Firm with peel chunks | Sweet and bitter | Translucent with peel strips |
Choosing juice makes jelly consistent. You won’t find seeds or skin. This makes it perfect for a uniform spread every time.
Essential Equipment You’ll Need for Making and Storing Orange Jelly
Making orange jelly at home is easier than you think with the right tools. You don’t have to spend a lot on jelly making supplies. Most tools are affordable and last for years.
First, you need a large pot with a wide base. This ensures your jelly heats evenly and prevents burning. Choose something sturdy that can handle high temperatures without warping.
Next, get a water bath canner for processing jars. It comes with a rack that keeps jars off the hot pot bottom. This is key for even heat distribution.

- A jar lifter for safely removing hot jars from boiling water
- A canning funnel to keep jar rims clean and mess-free
- Canning jars in half-pint or pint sizes
- A candy thermometer to check jelly temperature
- Clean kitchen towels for setting hot jars
- A damp cloth for wiping jar rims before sealing
The jar lifter is your safety hero. It grips jars firmly and lets you move them safely without risking burns or drops. A quality canning funnel directs your jelly into jars without spilling on the rims, which is crucial for proper seals. If you already have a regular stock pot, you can make a makeshift rack using extra canning rings instead of buying a water bath canner right away.
These canning tools work together to make your orange jelly project smooth and successful. Your investment pays off every time you enjoy homemade jelly throughout the year.
Choosing the Right Jars for Long-Term Orange Jelly Storage
Choosing the right containers for your orange jelly is key. Not all jars are good for canning. You need jars that can handle heat and seal tight. Ball and Kerr mason jars are top picks for this.
These jars are made for water bath canning. They keep your jelly fresh for up to 12 months.
The right equipment is crucial for canning success. You’ll need jars with two-piece lids. This includes a flat lid and a screw band. This system creates a vacuum seal that keeps your jelly fresh.
Knowing your jar options helps you choose the best size. This depends on your household needs and storage space.

Half-Pint vs. Pint-Sized Jars: Which Works Best
When canning orange jelly, you have several jar sizes to choose from. Half-pint jars (8 ounces) and pint jars (16 ounces) are the most popular. Quarter-pint jars (4 ounces) are also great for small portions.
Half-pint jars are perfect for those who enjoy fresh jelly often. They’re great for gifts or trying different batches. Pint jars are better for families that use jelly a lot. They save space since you need fewer jars.
| Jar Size | Volume | Best For | Storage Advantage |
|---|---|---|---|
| Quarter-Pint | 4 ounces | Gifts and samples | Easy to transport and share |
| Half-Pint | 8 ounces | Regular users | Fresh jelly more often |
| Pint | 16 ounces | Heavy users | Fewer jars to store |
All these sizes are safe for canning if done right. Choose based on your family’s needs and preferences.
Why You Should Never Reuse Canning Lids
Always use new jar lids for canning. The flat lids have a special sealing compound. This compound softens in hot water to create a tight seal.
Once used, the compound is damaged. Reusing a lid won’t work. Your jelly could spoil or lose freshness. This is a serious food safety issue.
- Flat lids are designed for single use only
- The sealing compound cannot be reused
- A failed seal means spoiled jelly
- Always buy new canning lids for each batch
You can reuse the screw bands, not the flat lids. Wash them well between uses. Some people use reusable Tattler brand lids for multiple uses. These cost more but save money over time.
Using fresh two-piece lids keeps your orange jelly safe and delicious for its entire shelf life.
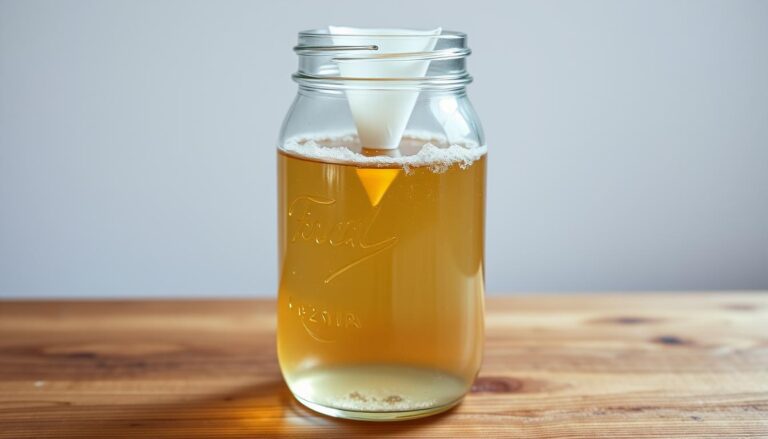
The Water Bath Canning Method for Orange Jelly
Water bath canning is perfect for keeping your homemade orange jelly fresh. It’s safe for high-acid foods like fruit jelly. You don’t need special tools or years of experience to do it. Just follow some simple steps and use the right equipment to make jars that last up to 12 months.
To start water bath canning, you need to know about your tools. A boiling water canner is a big pot that can hold jars under water. You can use any large pot that’s at least 10 inches deep. Fill it halfway with water and heat it on your stove while you get your orange jelly ready. Starting early helps save time later.

- Heat water in your boiling water canner until it reaches a rolling boil
- Ensure jars are completely submerged with 1-2 inches of water covering the tops
- Keep extra hot water nearby in case you need to add more
- Wait for water to return to a boil after adding jars before starting your timer
- Maintain a gentle rolling boil throughout the entire processing time
This method creates a vacuum seal, making your orange jelly last longer. When you put hot jars in boiling water, the temperature drops. Wait for the water to boil again before you start timing. This ensures the jars are heated evenly. With practice, you’ll get better at this traditional way of preserving your orange jelly.
Proper Headspace Requirements When Canning Orange Jelly
Getting the right jar headspace is key to successful canning. The headspace is the empty space between the jelly and the jar rim. It’s crucial for a good seal and keeping the jelly fresh for up to 12 months. For orange jelly, you need 1/4 inch of headspace. Mastering this measurement is vital for your canning success.

The headspace at the top of your jar is important for sealing and safety. Knowing how to measure and why it matters will make you a confident canner.
How to Measure Headspace Correctly
Measuring headspace accurately is simple but crucial. Here’s how to do it:
- Use a measuring headspace tool or a clean ruler to check the distance from the top of your jelly to the jar rim
- Hold your measuring tool straight up and down inside the jar for an accurate read
- For orange jelly, aim for exactly 1/4 inch of space
- If you filled the jar too full, use a clean spoon to remove some jelly
- If you don’t have a headspace tool, most canning kits include one
With practice, you’ll learn to eyeball the jar headspace. New canners should always use a headspace tool to stay accurate and avoid sealing problems.
Why Headspace Matters for Seal Formation
Your jar headspace is crucial during canning. When jars are processed in hot water, the jelly expands. The headspace allows for this expansion without overflowing.
Too little headspace causes problems. Without enough room, jelly can spill onto the rim during processing. This mess prevents a tight seal, affecting preservation.
Too much headspace also has issues. Extra air can discolor your jelly over time. It also makes sealing harder, affecting freshness and safety.
The right headspace lets air out as the jar heats up. When it cools, this creates a strong vacuum seal. This seal keeps your orange jelly fresh and delicious for up to 12 months.
Processing Time and Temperature Guidelines
Getting your orange jelly canning time right is key for safe storage. The canning time depends on jar size, elevation, and recipe. For half-pint or pint jars, the standard time is 10 minutes at sea level. Knowing these details helps you can with confidence.
When using the water bath method, timing starts when water boils hard. This boiling is so strong you can’t stir it down. This boiling is what makes water bath processing safe for acidic foods like jelly. Keep the heat at medium-high to keep the boil going.
Your elevation changes your canning process. At higher altitudes, water boils at lower temperatures. This means you need to add extra time to ensure your jelly is safe. Use online tools or your local county extension office to check your elevation.
| Your Elevation | Additional Processing Time |
|---|---|
| Sea Level to 1,000 feet | 0 minutes (use standard 10 minutes) |
| 1,001 to 3,000 feet | Add 1 minute |
| 3,001 to 6,000 feet | Add 2 minutes |
| 6,001 to 8,000 feet | Add 3 minutes |
| 8,001 to 10,000 feet | Add 4 minutes |
Your canning time and altitude adjustment work together. If you live at 4,500 feet and your recipe calls for 10 minutes, you would process for 12 minutes. Always add your adjustment minutes to the base time in your recipe.
- Set a timer only when water returns to a full rolling boil
- Keep jars completely submerged during the entire processing time
- Never reduce processing time below what your recipe recommends
- Start with the correct boiling time for your altitude
Never skip or rush the processing time. This ensures dangerous bacteria and molds are destroyed. The heat during water bath processing kills pathogens that could spoil your jelly or create health risks. Your careful attention to these guidelines means your orange jelly stays fresh and safe for up to 12 months.
How to Check Your Orange Jelly Seals After Canning
When your orange jelly finishes in the water bath canner, it’s exciting. You’ll want to know if your jars sealed right away. Checking seals is easy once you know what to look for. Your jars will show you through simple tests at home.
First, use a jar lifter to take each jar out of the hot water. Put them on a towel or cooling rack on your counter. Make sure they’re a few inches apart for air to flow.
The Sound of Success: What to Listen For
Home canning is rewarding, and hearing jars seal is a highlight. As your orange jelly cools, it pulls the lid down tight. This makes a vacuum seal and a distinct sound.
You might hear these sounds right after taking jars out of the canner. Sometimes, the sounds keep going for hours as the jars cool. Every sound means another jar is sealing well.
What to Do with Jars That Don’t Seal Properly
After your jars cool completely, usually 12 to 24 hours, do a canning seal test. Press the center of each lid with your finger. A sealed lid feels solid and firm, not flexible.
If a lid flexes or pops, it’s a failed seal. This means the jar isn’t shelf stable. Put it in the fridge and use it within a month. An occasional failed seal is normal and doesn’t mean you did anything wrong.
| Seal Status | What You’ll Feel | What You Should Do |
|---|---|---|
| Proper Sealed Jars | Solid, firm center with no flex | Store on pantry shelf for up to 12 months |
| Failed Seal | Center flexes or pops down and up | Refrigerate and use within one month |
Checking seals is simple but crucial. Just a few seconds of testing each jar can save you from guessing. This confidence in your sealed jars makes all your canning efforts worth it.
Storing Your Canned Orange Jelly for Maximum Freshness
After checking that your jars are sealed, it’s time to store them right. How you store your canned orange jelly affects its freshness and taste. A key step many miss is removing the metal screw bands after cooling and checking the seals.
Removing the bands is crucial. They can keep a lid in place even if the seal fails. This might hide spoilage. By taking off the bands, you can spot any issues right away.
For storing canned goods, the location is key. Keep your jars in a cool, dark, and dry place away from heat. A pantry, basement, or cupboard is ideal. Stay away from windows and appliances that get hot, as they can harm your jelly’s quality.
Creating the Perfect Storage Environment
Your pantry should be between 50-70°F for the best storage. This temperature helps keep your jelly’s color, flavor, and texture. Always label each jar with what’s inside and when you canned it. This helps avoid confusion in a full pantry.
- Remove screw bands before storing
- Wash and dry jars thoroughly
- Choose a cool, dark pantry location
- Keep temperatures between 50-70°F
- Label with contents and canning date
- Store bands separately for future canning sessions
Use removable labels or chalkboard labels for easy identification. This ensures you know which jars to use first. Proper storage keeps your orange jelly fresh for up to 12 months.
Shelf Life Expectations and Storage Conditions
Your homemade orange jelly is the result of months of hard work. Knowing how long it stays fresh is key to enjoying it at its best. When canned correctly, your jelly can last up to 12 months. Some jars might even last up to 16 months if sealed well. But, the best taste and texture are in the first year.
After opening, keep your jelly in the fridge. It’s best to eat it within 2 months for the best flavor and texture.
Keeping your jelly fresh for a long time is more than just sealing jars. Where and how you store it matters a lot. Proper storage is crucial for preserving your orange jelly.
Ideal Temperature and Light Conditions
The right temperature is key to keeping your jelly fresh. Aim for a range of 50-70°F. This keeps the color bright and the flavor strong.
Light can also harm your jelly. Sunlight and bright lights cause colors to fade and nutrients to be lost. Store your jars in a dark place, like a pantry or basement.
Changes in temperature and humidity can also affect your jelly. Avoid storing it near:
- Kitchen stoves and ovens
- Dishwashers and other heat sources
- Unheated garages with fluctuating temperatures
- Damp basements prone to moisture
Stable conditions help your jelly stay delicious and look great for longer.
Signs Your Orange Jelly Has Spoiled
Keeping your family safe starts with knowing about food safety. It’s key to spot when your orange jelly has spoiled. Always remember: if you’re unsure, it’s best to throw it away. No jar of jelly is worth risking your health.
Before you enjoy your stored orange jelly, check it for signs of spoilage. This is crucial for your safety.
First, check the seal on the jar lid. Press down gently in the center with your finger. A good seal feels solid and doesn’t move. If the lid flexes or pops, the seal has failed. This means the jelly is unsafe and should be thrown away right away.
After opening the jar, look closely at the jelly inside:
- Watch for any mold on jelly, even small spots. Mold spreads quickly, so throw away the whole jar.
- Trust your nose. If the jelly smells bad, fermented, or unusual, don’t taste it.
- Look for bubbling, foaming, or too much liquid separation. These signs mean fermentation.
- Notice big color changes or cloudiness that are different from normal fading.
- Check for seepage or stickiness around the jar’s lid or sides.
Knowing how to spot bad jelly keeps you and your family safe. Proper disposal is also important. Wrap spoiled jelly well and throw it away in your trash. Never give it to pets or compost it. With the right canning and storage, spoilage is rare. Your knowledge of these warning signs helps protect your loved ones when it’s time to throw out jelly.
Conclusion
You’re all set to start preserving food at home. Making homemade orange jelly connects you to old traditions. You control what goes into each jar, avoiding chemicals and mystery ingredients.
Remember all you’ve learned. You know what makes orange jelly special. You’ve got the right equipment and jars for canning. You’ve learned about water bath canning, headspace, and checking seals.
Start with a small batch of DIY orange jelly. This will help you build confidence. Don’t worry if you get a failed seal. Every canner has been there.
Imagine opening a jar of your homemade orange jelly on a cold winter morning. The bright, sunny flavor is unbeatable.
It’s time to start. Get your equipment, find some fresh oranges or quality orange juice, and begin your canning adventure. You have the knowledge and tools. Your best batches of homemade orange jelly are waiting.